Take it outside & turn it into play!
Why have an “outdoor classroom”? If you already have a well-equipped indoor classroom, isn’t that enough? Why should teachers have to plan for outside time too, when so much effort is already required of them? After all, there are the issues of “getting children ready to read,” budget cuts and time pressures. Aren’t those issues enough to consider without adding one more? Perhaps, but let’s consider the benefits of the outdoor classroom first.
- Children would rather play outside assuming the weather is good and there is something worthwhile to do.
- It is easier to manage children’s behavior outside as there are fewer restrictions on behavior.
- Anything children can learn inside can be learned outside.
- “Messing about” is less of an issue outside.
Setting up the outdoor classroom means determining what “furniture and materials” are available and how they are to be arranged. Since the “center approach” works indoors and provides a good organizing principle, the same idea can be used outside. For example, the dramatic play center can be developed around the trike track. The “block center” becomes the “loose parts construction area” in the outdoor learning environment. Almost every indoor center has a counterpart in the outdoor learning environment. Like indoor centers which are set up for a particular unit–for example, adding community helper clothing to the dress-up center–the outdoor classroom is set up by the teacher to help children experience curricular content in a playful manner.
The first step in setting up an outdoor classroom is to select a good space. Since the outdoor classroom will be a heavily-used area, a hard surface like concrete or asphalt is best. The area should be accessible to children or teachers with physical or mobility challenges. A paved area might be available in a courtyard, in an existing games court or even an abandoned driveway. If a hard surface is not available, a local contractor can assist in building such an area to meet local codes.
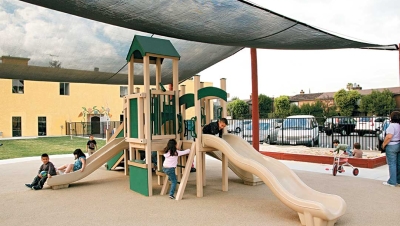
A protective covering or shade is the next order of business. Again, the most economical approach is to find an existing covered area: a wide breezeway or covered porch or driveway. A weather-proof roof is best, but many child care centers use a sunshade canopy to shelter their outdoor classrooms from the sun and light rain. Check with local building code enforcement to determine whether or not a canopy can be attached to the center itself.
Like any good classroom, the outdoor classroom must have adequate storage. Teachers and children will more readily and easily use the outdoor classroom if supplies are stored conveniently for use. If teachers must take supplies and materials out each day, they will be less likely to use the outdoor classroom. If possible, avoid the “central storage building” for all supplies as it eventually becomes the dumping ground for broken items, seasonal supplies, and other “stuff,” making it unsuitable for daily use.
There should be many types of storage in the outdoor classroom: some accessible for children and some lockable and accessible only to teachers. Cabinets, small storage lockers, storage buildings and rolling carts are examples of appropriate outdoor classroom storage. Rolling carts or cabinets can be stored inside the building and wheeled outside when needed if outdoor storage is not possible.
Outdoor classrooms also need a variety of places to sit and “work/play” with materials. Tables with smooth surfaces (not boards or wire tops) work better for art projects, blocks and snacks and they are easier to clean. Flexible seating–like the nesting tables and chairs shown here–may be the best option as they are easily cleaned, provide seating for children of varying sizes and can be moved around easily to accommodate a variety of activities. Water play tables, art or media tables and carpentry tables can also be included in the outdoor classroom.
Table blocks, puzzles, and other fine-motor manipulative materials can be easily stored in the lockable cabinets. Open front cabinets or shelves can be used to exhibit children’s projects or items found on the playground. For example, leaves, flowers or rocks from a nature walk can be grouped and classified for display and children can compare, count and sort them as they explore them more closely.
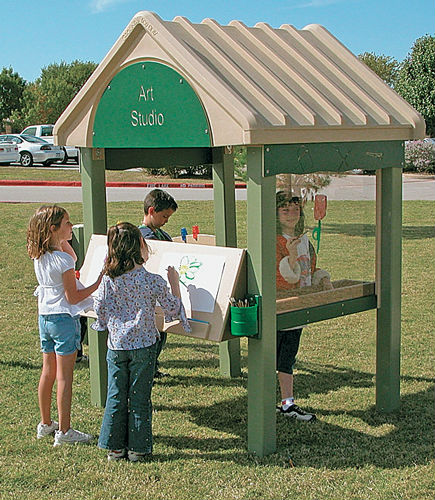
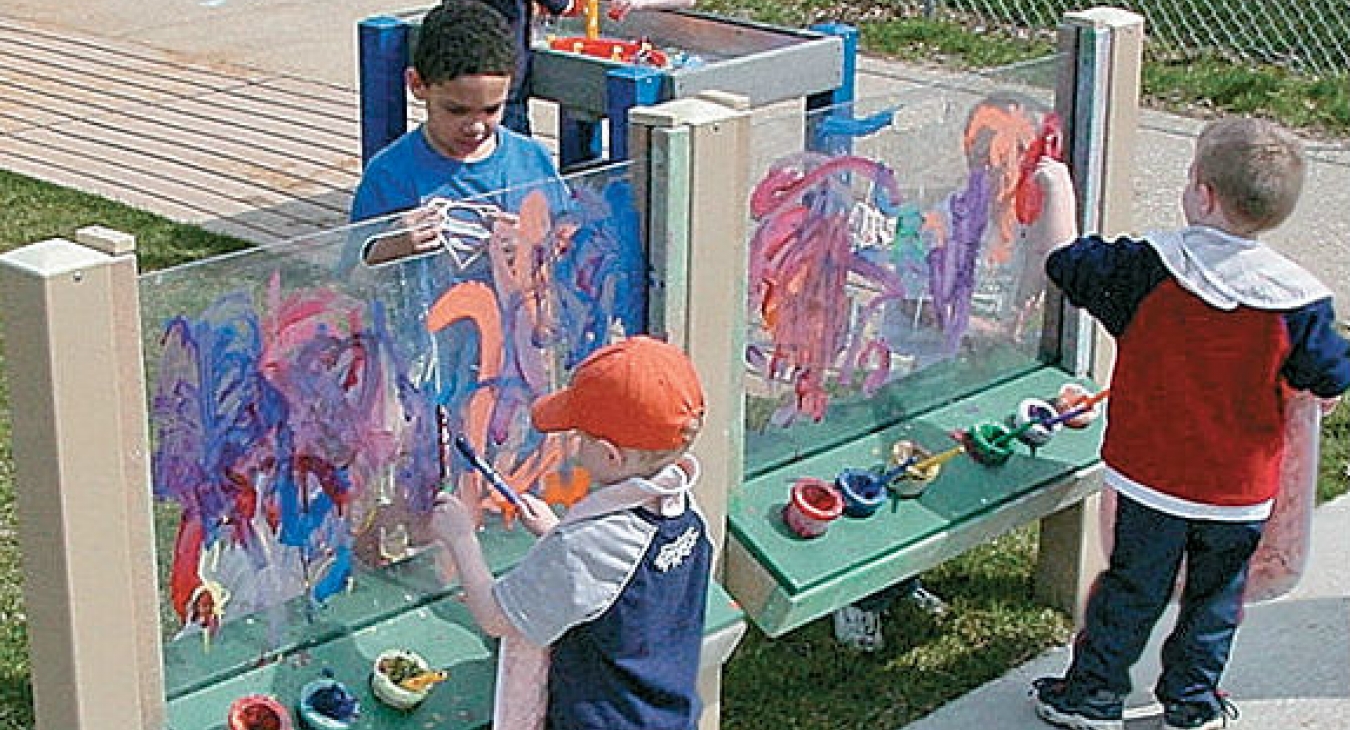
An art easel large enough for two to four users at a time is an essential part of the outdoor classroom. Art supplies can be stored in the lockable cabinets and can be put out onto the tables for “free art.” Children can be more expressive and free with paint in the outdoor classroom since clean-up is easier: fly swatter painting and squirt-gun artwork well outside but are a disaster inside! Children can use an easel with a clear, see-through paint surface to do “face painting”—having a friend put his or her face against the opposite side of the easel surface to be painted onto the clear easel. Letters or shapes can be taped to the back side of the easel surface so children can trace them onto the easel with paint or dry erase markers.
Begin small; Rome was not built in a day. Start with small steps, gain some successes and then share the vision with others. Administrators and parents must be “on board” for this approach to work. Spend some time explaining your goals and getting support from everyone involved–especially the children. The child who suddenly takes a bigger interest in learning because he (usually) can be more active in the process is a walking (or building, painting, creating) advertisement for your new, outdoor classroom.









Add new comment