The First Step of Efficient Playground Maintenance


Playground maintenance isn't glamorous work. But it's some of the most important work a parks director, facilities manager, or school administrator can do. A well-maintained playground protects children, extends the life of expensive equipment, and signals to your community that the people responsible for public spaces take that responsibility seriously.
The challenge is knowing where to start — and more importantly, knowing what you might be missing. A quick visual scan of a playground before the morning bell rings is not a maintenance program. A real assessment is systematic, categorical, and documented. It covers every component, from concrete footers to swing seat integrity, in a logical sequence that ensures nothing gets overlooked.
The following assessment framework does exactly that. Originally developed as part of a structured playground maintenance training program, it remains one of the most thorough and practical approaches to evaluating play equipment condition available. Whether you're a certified playground safety inspector, a parks crew supervisor, or a school facilities director building out your first formal maintenance protocol, this step-by-step process gives you a solid foundation.
The Six Categories of Construction Parts
Before playground equipment can be checked for maintenance, it is important to know what needs to be checked. For each type of equipment, all the categories of construction parts have been identified and compiled into an assessment matrix. These categories tend to fall into the following groups:
- Support Members — footers, posts, beams, braces, structural frame, etc.
- Play Components — slide chute, fireman's pole, swing suspension assembly, etc.
- Access Means — stairs, steps, ladders, etc.
- Safety Provisions — handgrips, rails, barriers, etc.
- Standing/Sitting Provisions — platforms, decks, seats, etc.
- Hardware — bolts, clamps, couplings, chain, cable, etc.
The assessment begins with one or two initial tests for each structural component. Using a simple decision tree as a model, the item either passes the test and does not need any maintenance, or requires a more detailed examination to determine what should be done.
Each structural component is evaluated for each of the four principal functions of playground maintenance: safety, utility, health & sanitation, and appearance. For each of these functions, the condition is given a rating.
The Four-Tier Safety Rating Scale
Here is the rating scale for the maintenance function of ensuring play equipment safety. Similar rating scales have been established for the other functions of playground maintenance.
Rating | Safety Condition | Type of Maintenance Needed |
|---|---|---|
1 | Condition poses imminent danger to users | Immediate removal or Corrective Maintenance needed |
2 | Condition may soon pose danger to users | Primary Preventive Maintenance needed |
3 | Condition, if unchanged, will eventually pose danger to users | Secondary Preventive Maintenance needed |
4 | Condition should be watched for future deterioration which may pose danger to users | Does not require maintenance now |
Example: Assessing a Belt Swing
For this overview of the process, a basic single-bay belt swing will serve as an example. On a basic to-fro belt swing, the footers, support frame, clamps, swivel mechanism, couplings, fasteners, suspension chains, and seats should all be assessed periodically.
What follows is a sample of some of the initial tests in the process. If the item passes the initial test, it is recorded on the assessment matrix and no further examination is needed. If it fails the initial test, a closer examination procedure is prescribed, with recommendations for the several possible conditions that may be found, in a step-by-step format. Only a sample of the initial tests is included here.
Footer Assessment
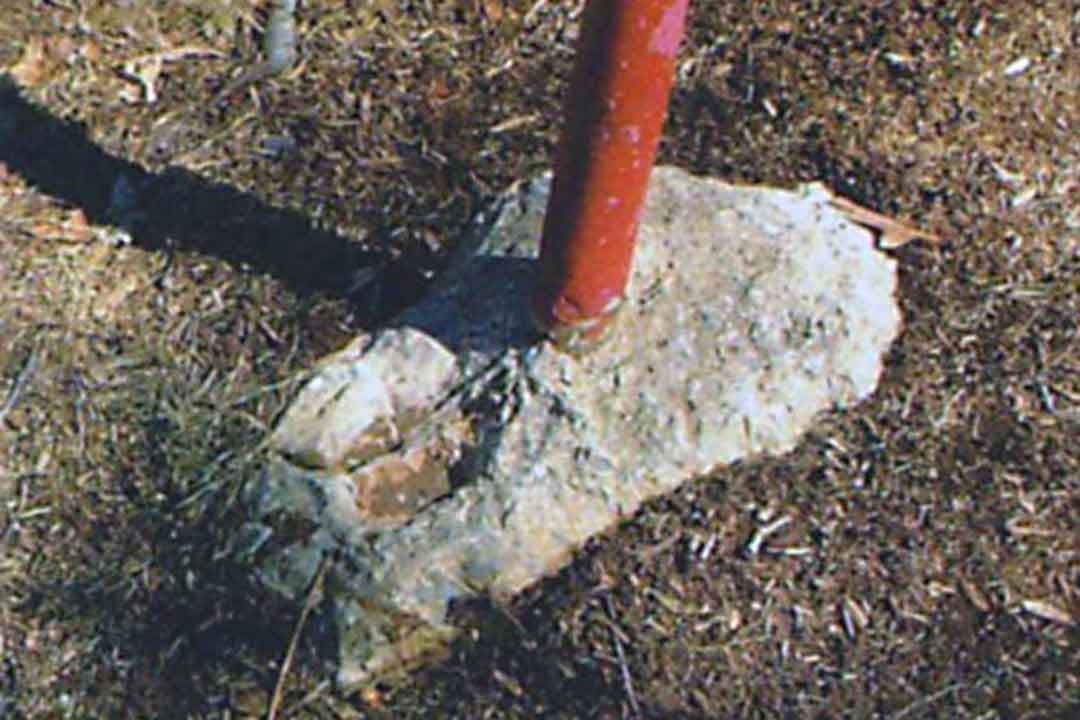
The footers should be examined for stability, depth beneath the safety surfacing, and integrity of the concrete.
Test | Initial Test | Pass | Need for Detailed Examination |
|---|---|---|---|
Stability of Footer | Rock each support leg while watching its footer. | If there is no rocking of the footer. | If the footer visually moves. |
Depth of Footer Beneath Safety Surfacing | Insert a dimensioned probe through the surfacing within 4 inches of each support leg or post until the probe contacts the footer. (Alternative: dig around the support leg or post down to the footer.) | If the surfacing covers the footer to at least the minimum recommended depth for the material. | If the surfacing is less than the minimum depth required for the material. |
Integrity of Concrete | Visually examine the top of the footer for deterioration (such as cracks or breakage); then, using moderate force, draw a metal claw or hook across the surface and tap it with a metal hammer. | If concrete does not easily furrow and aggregate does not easily become dislodged from impacts. | If concrete displays deterioration or is easy to gouge or furrow; aggregate easily breaks bond from the footer. |
Stability of Post/Footing Setting | Visually examine junction of legs and footer for corrosion. | If there is no corrosion. | If there are indications of corrosion: determine type (such as rust, rot, acidic corrosion, etc.) and extent of corrosion to select appropriate corrective action. |
Swing Frame Members
The swing frame is checked for deterioration or damage using two initial tests — one visual, one auditory — followed by a separate inspection of the protective coating.
Test | Initial Test | Pass | Need for Detailed Examination |
|---|---|---|---|
Visual Inspection (Test 1) | Visually examine all parts of the swing frame for metal corrosion, wood rot, dents, bends, punctures, or other damage. | If there is no visible corrosion or rot; dents, bends, or punctures are minimal; and there is no other visible damage. | If there are indications of deterioration or damage. Determine type and extent of problem to select appropriate corrective action. |
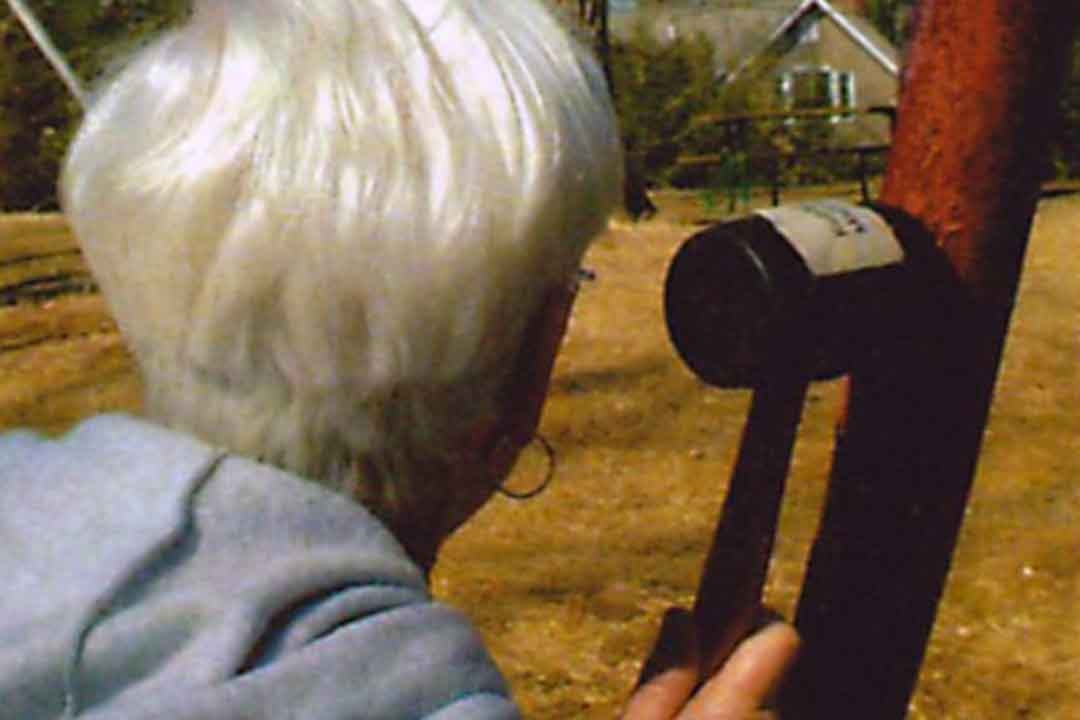
Auditory Inspection — Wood (Test 2) | Listen carefully while tapping wood members with a rubber mallet. | All areas are solid, with no dead, dull, or hollow sounds. | Check any wood areas that sound different, using an awl, long narrow screwdriver, or wood core auger to determine type and extent of deterioration. |
Auditory Inspection — Metal (Test 2) | Listen carefully while tapping metal pipe members with a rubber mallet. | All metal pipes are solid, with no dissimilar flat sounds and no sounds of falling disengaged interior corrosion. | Compare any metal areas with dissimilar flat sounds to normal-sounding areas using equal light pressure with a belt wrench. If tapping causes sounds of falling particles from interior corrosion, check for openings that may admit atmospheric moisture to the inside of the pipe. |
Protective Coating | Visually examine the coating over the entire frame for any defects (peeling, chipping, flaking, scratches, or other damage that exposes the underlying structure). | If the coating is free of any defects. | If coating has any damage. Determine type and extent of damage to select appropriate corrective action. |
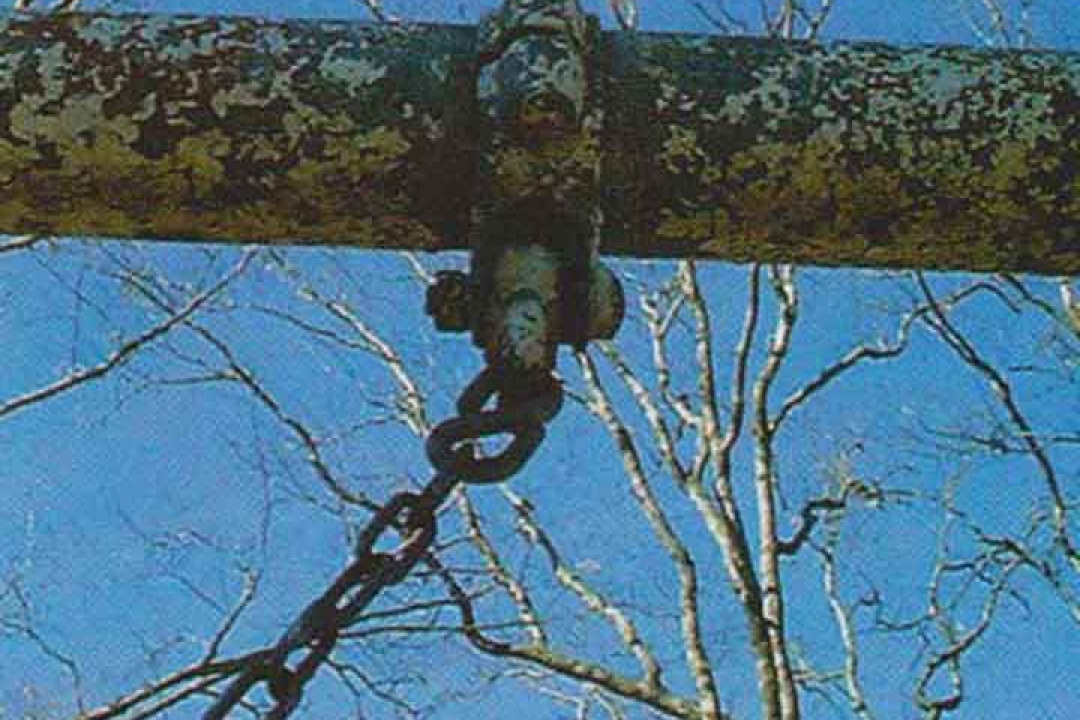
Swing Hanger Assembly
There are five common problems that affect the safety or operation of a swing hanger assembly:
- Missing, loose, worn, or broken clamps, clevis, couplings, or fasteners.
- Incorrectly installed beam-clamp bolts.
- Over-tightened bolt through bushing or bearing housing and clevis.
- Corroded clamps, clevis, couplings, or fasteners.
- Splay dimension of each set of swing beam-clamps.
The complete assessment procedure includes initial tests for each part of the swing hanger assembly. A few example tests are listed below.
Swivel Mechanism
First, determine the type of swivel friction-reducing device — for example, a bushing or bearings.
Test | Initial Test | Pass | Need for Detailed Examination |
|---|---|---|---|
Audio Signal Test (Test 1) | Pull taut swing chains back to approximately four feet above the underlying surface and release, permitting the seat to swing freely to and fro. Do not push. | If the swing swivel turns without squeaking. | If the swivel squeaks. |
Lateral Play Test (Test 2) | Pull both chains for each swing set firmly down and sideways (parallel to the swing frame beam). | If the bushing sleeve does not slide sideways along the longitudinal bolt or pin. | If there is significant lateral play (movement) of the bushing sleeve. |
Follow-up Test: If either Test 1 or Test 2 does not pass, inspect the bushing or bearings for excessive wear, presence of foreign matter, or corrosion.
Chain Couplings (Examples: S-Hook, U-Coupling)
Couplings should be checked for excessive gaps, improper closure resulting in inappropriate overlap, wear, and corrosion.
Swing Suspension Chains
Suspension chains should be inspected for each of the following problems:
- Superfluous, unneeded links beyond connections at clevis and seat.
- Broken or worn chain links.
- Chain spacing within swing bay.
Swing Belt Seats
Swing belt seats have four common problems to test for: tears, cuts, or breaks; material deterioration; protrusions; and seat clearance.
Test | Initial Test | Pass | Need for Detailed Examination |
|---|---|---|---|
Tears, Cuts, or Breaks | Bend the swing seat into a curve bottom-side-up with a diameter of approximately 8–10 inches and flex so the curve runs along the entire length of the seat. Repeat with the top side up. Examine the bottom, then the top, then the front and back edges while doing so. | If there is no single tear, cut, or break greater than one inch in length. | If there is a tear, cut, or break greater than one inch. |
Additional checks performed as part of the seat assessment:
- Examine for material deterioration (aging, UV degradation, embrittlement, stretching, etc.).
- Check front, rear, and bottom protrusions.
- Check dimension of seat clearance.
Summary
This overview skips a great deal of detail, but there is enough here to show that a structured assessment is a thorough, comprehensive process. It permits trained personnel to easily identify and evaluate the maintenance needs of each piece of playground equipment. Each item is covered, and if the initial test is satisfactory, it is quickly dispensed with; only those items that fail the initial test receive more time and attention. The entire process is easily documented for agency records.
There is also a recommended schedule for each of these tests. Some should be done more frequently than others.


Comments
interesting article
interesting article
Add new comment