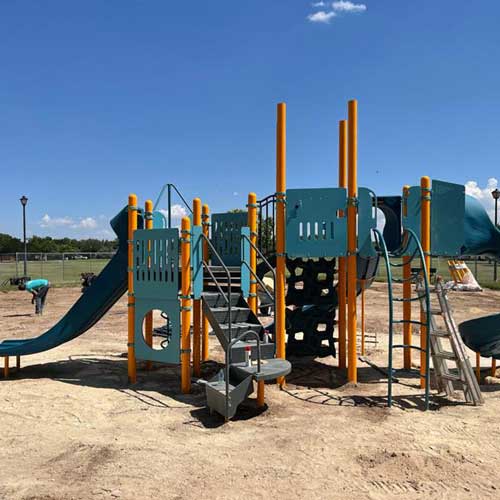
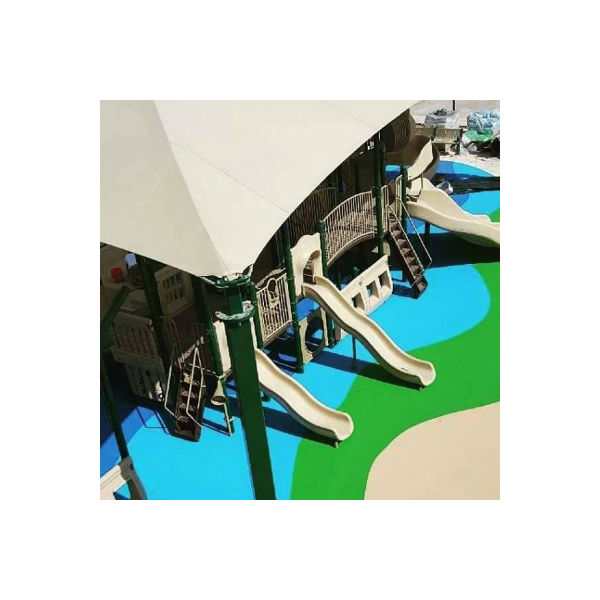
After the installation crew has completed constructing the play equipment and playground surfacing, there remains the task of checking the work that has been completed. The installation crew should have left a clean, undamaged job site. The installation should be according to the manufacturer’s specifications from the footings to the roof. The installation should conform to CPSC and ASTM guidelines.
CPSI Inspection
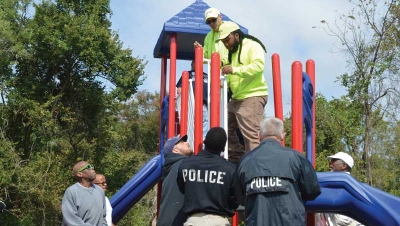
To verify the installation is the best it can be, two inspections are recommended. First, an audit of the new play structure should be performed by a Certified Playground Safety Inspector (CPSI). A thorough CPSI audit will verify that the installer has built the playground in accordance with all standards, as well as that the manufacturer’s components all meet CPSC and ASTM guidelines. The inspector should use the CPSI testing gauges and record each test. To completely understand the audit process one can receive training to become a CPSI sponsored by the National Recreation and Parks Association (NPRA).
Construction Inspection
The second inspection is a construction inspection. This inspection is designed to follow up on the installation crew and be sure the job site has been left as envisioned by the owners and designers.
Check the area outside of the playground proper. Be sure the installation crew did not leave any garbage or trash. Be sure there isn’t any damage to curbs, sidewalks, turf, trees, sprinklers, buildings, or any other part of the property. Be sure the area is swept and raked and looks aesthetically pleasing – as good or better than before installation crews arrived. Check that all footing dirt and construction garbage was disposed of properly.
Collect all documents pertaining to the job for filing back at the office. This includes the installation manual, top views, blueprints, job specifications, packing lists, freight bills and any other documentation supplied with or for the playground project. The installer’s copies of all pertinent documents should be kept in one accessible place for future reference to the specific project just completed.
Check all deck heights to verify they actually match the drawings. Check all slide heights, overhead event heights, transfer stairway heights, and all measurements pertaining to correct installation. Check all use-zone measurements from each extended piece of equipment and in between all pieces of equipment. Check the installers’ work to be sure all parts have been assembled correctly. Be sure one last time that all blueprints, top views, and actual builds for the playground coincide.
Check the border next. Check it for stability, proper construction, and cosmetics. Borders are easily cracked or scuffed up by vehicles and workmen crossing them repeatedly. Check the surfacing for proper depth, installation, and use-zone area requirements. Anything that extends into the use-zone that is not playground equipment, such as a bench or the slope of a fluctuation ramp for ADA access, must comply with use-zone requirements. Ensure the uprights are marked, showing the top of the resilient surface. The footings must be checked – this may be done easier at the time of the pouring of concrete footings. All concrete in loose-fill areas should be below the sub-grade surface.
Check every nut, bolt, screw, and all hardware to be sure they are tight. If any bolts protrude more than two threads they must be replaced, or cut off and filed down. All moving parts should be checked to be sure they operate correctly. If a part uses grease make sure the grease has been applied. Check to see that all secondary securing devices such as pins, rivets and self-tapping screws for the collars have been installed. Verify that all labels and safety signage are secured to the play structure.
Check all finished parts to be sure that there are no nicks, scrapes, cuts, or other damage to finished surfaces. If there is a scuff or scratch on a painted part, use the touch-up paint provided by the manufacturer to repair the blemish. Avoid “overspray” onto parts that are not painted or are not the same color. This can be accomplished by making a simple template out of a piece of scrap cardboard. Cut a U-shape cardboard template to hold next to uprights to protect the part that doesn’t need painting. Use a vinyl repair kit to fix any cuts or dings in PCV coating. Use a knife or heat gun to repair small nicks in plastic. Check that all components are plumb and level. Check that the structure is clean of any dirt or grime.
With a little attention to detail and pride in your work, you will be sure to leave a cherished play space where once a job site existed.













Add new comment