6 Steps to Your Perfect Park and Playground: Play Equipment
Step 1: Concept & Budget
Create a vision for the playground.
When creating your vision, start with the end in mind. These questions will help you get started.
Location
- Where will the playground be located?
- Will this be a community play area or a school play area?
- Will it be open only during school hours or will it be available to the community after hours?
Type
- What type of playground do you envision – a destination, adventure, inclusive?
- Are there specific play experiences to include?
- Contemporary or traditional playground?
Aesthetics
- Should it blend with the environment or will it be theme-based?
Age and Ability Appropriate
- How many children will be using the equipment at one time?
- What ages need to be accommodated?
- Does there need to be separate areas for 2 to 5 year olds and 5 to 12 year olds?
- What about children over 12 and adults?
- Are there children with specific disabilities you want to accommodate?
Smart Design
- Do you need to design for a phased approach to accommodate a smaller budget?
- What additional amenities – shade, benches, restrooms, fencing, etc. – should be included?
Develop a budget
Think about costs and budget early in the process to ensure you’re planning for all elements. You want to find the right balance between your goals and your budget to avoid any shortfalls down the line.
- What will your budget cover – playground equipment, site furnishings, surfacing, shipping, site preparation, safety surfacing, containment border material, installation, future maintenance?
- How will funds be secured – through grants, purchasing contracts, fundraising efforts?
- Who are potential funding partners?
Consider designing based on a “Pay for Play” concept. This means play elements come first instead of relying on what is left over in the budget.
ADA Accessibility Legal Requirements
The Americans with Disabilities Act of 1990 (ADA) prohibits discrimination based on disability, which is defined by the ADA as “a physical or mental impairment that substantially limits a major life activity.”
The ADA establishes standards that requires public facilities – which includes newly constructed and updated playgrounds – be readily accessible to, and usable by, individuals with disabilities. You must provide an accessible path to the playground, such as ramps and/or barrier-free travel routes. This should include an accessible protective surfacing to each structure that is intended to be used by children with disabilities.
What does this mean?
- The playground must meet the ADA compliant ratios of accessible ground level and elevated play events. To help you understand the standards, the International Play Equipment Manufacturers Association (IPEMA) created a Checklist for Access that summarizes 12 key steps for compliance.
- You should be aware that designing solely for ADA standards means you are really designing to the minimum requirements. While play structures and equipment must be accessible to children with disabilities; that doesn’t’ mean the whole structure needs to be accessible.
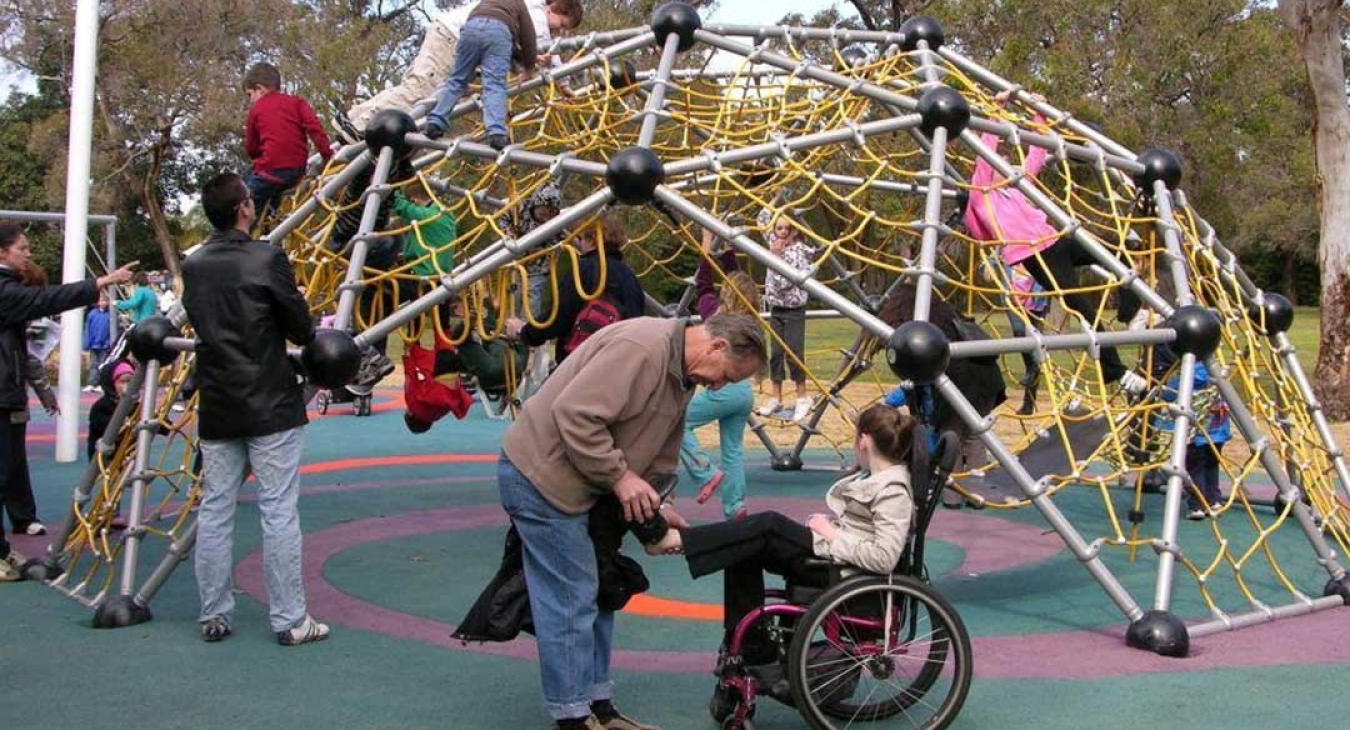
When planning your playground, think beyond designing for wheelchair access only. Ramps, shorter step heights, roomier decks and hand rails can make it a better play experience but planning for a range of disabilities will ensure your playground is enjoyed by as many children as possible.
Encourage Community Involvement – Early!
Who are your stakeholders – kids, parents, park or school personnel, childcare providers? Get the community Involved. Find out what they want to see. Determine who to involve in planning, funding and installation.
- Who are potential supporters – PTOs, physical education staff, neighborhood associations, service clubs, local government agencies, religious groups, local news media?
Involve both children and adults, people of all ages, to provide design input regarding the play structures, amenities, colors, and more.
Invite participation to scheduled meetings. Contact community organizations or ask for help from local businesses. Ask for input through social media or put suggestion boxes at the community center, city offices and school office.
Getting involvement early on means you’ll have community support throughout the life of the project. Involving a greater number of people will help ensure you’re considering all viewpoints. Community involvement is crucial!
Determine How the Surrounding Environment Impacts the Playground
Is the location rural, suburban or in the city? Is it a school or neighborhood playground?Where will your park or playground be located? It’s important to assess how the surrounding environment will affect your project.
- Will this be a brand new playground or replace an existing one?
- Is it a public or private playground?
- What surrounds the area? Are there unique historical characteristics, natural or man-made elements, landscaping, fences or paths to incorporate?
- What are climate impacts to the area, such as wind, temperature sun and precipitation?
- Are there areas that may hold water?
- Where are utilities located (water, sewer, electric, gas, cable and telephone lines)?
Best Practices for Playground Layout
The ASTM and CPSC have guidelines that are considered best practice for playground layout to ensure the safest play environment possible. These guidelines cover everything from the types of equipment to safety surfacing, age appropriateness and more.
When laying out a playground, keep these factors in mind.
- Accessibility. Equipment selection and location plus the type of protective surfacing are key components to ensuring the opportunity for children with disabilities to play
- Age separation. The layout of pathways and landscaping should show distinct areas for different age groups by acting as a buffer zone.
- Conflicting activities. Organize play areas into different sections, such as for active, physical activities vs more passive or quiet. Disperse popular, heavy-use play equipment to avoid crowding. Know the different use zones for play equipment.
- Sight lines. Minimize visual barriers, keep sight lines open so that parents and care givers can easily keep track of children.
- Signage and/or labeling. Give guidance to parents and care givers as to the age appropriateness of the equipment.
Step 2: Surfacing & Shelter
After the concept and budgeting phase, you’ll want to think about safety surfacing, shelters & shade along with your parking and restroom needs.
When planning for your park or playground, it is always important to know who your audience is.
It’s easier to anticipate who your audience will be when building a school playground. Teachers and school administration already know what ages and abilities they need to accommodate.
For a public park and playground, you need to know and plan for the community that will be visiting and using it. Plan not only for current age ranges but also future age ranges. Plan it so that it meets the needs as the neighborhood children grow up. This can be extremely important when planning for smaller, neighborhood playgrounds.
We hope this post helps as you start to evaluate your park and playground project, enabling you to ensure a successful outcome.
Choose a Surfacing Option That Meets Your Site’s Safety Needs
According to the Consumer Product Safety Commission (CPSC), almost 70% of all injuries on the playground are from children falling. A fall onto a hard surface, such as concrete, blacktop or packed earth can cause serious injuries, so the surfacing under and around playground equipment is an extremely important safety measure that can greatly diminish the chance for injury.
When planning for your playground’s safety surfacing, there are two types of surfacing to consider – loose fill and unitary.
Loose Fill Surfacing
This includes Engineered Wood Fiber (EWF) and rubber playground mulch. EWF looks similar in appearance to landscaping mulch, but it is specifically designed for use as a playground safety surface.
Pros for Loose Fill Surfacing
- Provides excellent fall protection.
- Typically, less expensive.
Cons for Loose Fill Surfacing
- The loose material makes it more difficult for a child with a mobility device to maneuver in.
- Playground activity causes the loose surfacing to get displaced so it requires more frequent maintenance tomeet guidelines. For instance, it may need to be “topped off” to ensure the correct depth for compliance standards.
- In addition, EWF mulch naturally decays, which requires it to be replenished over time.
Unitary Surfacing
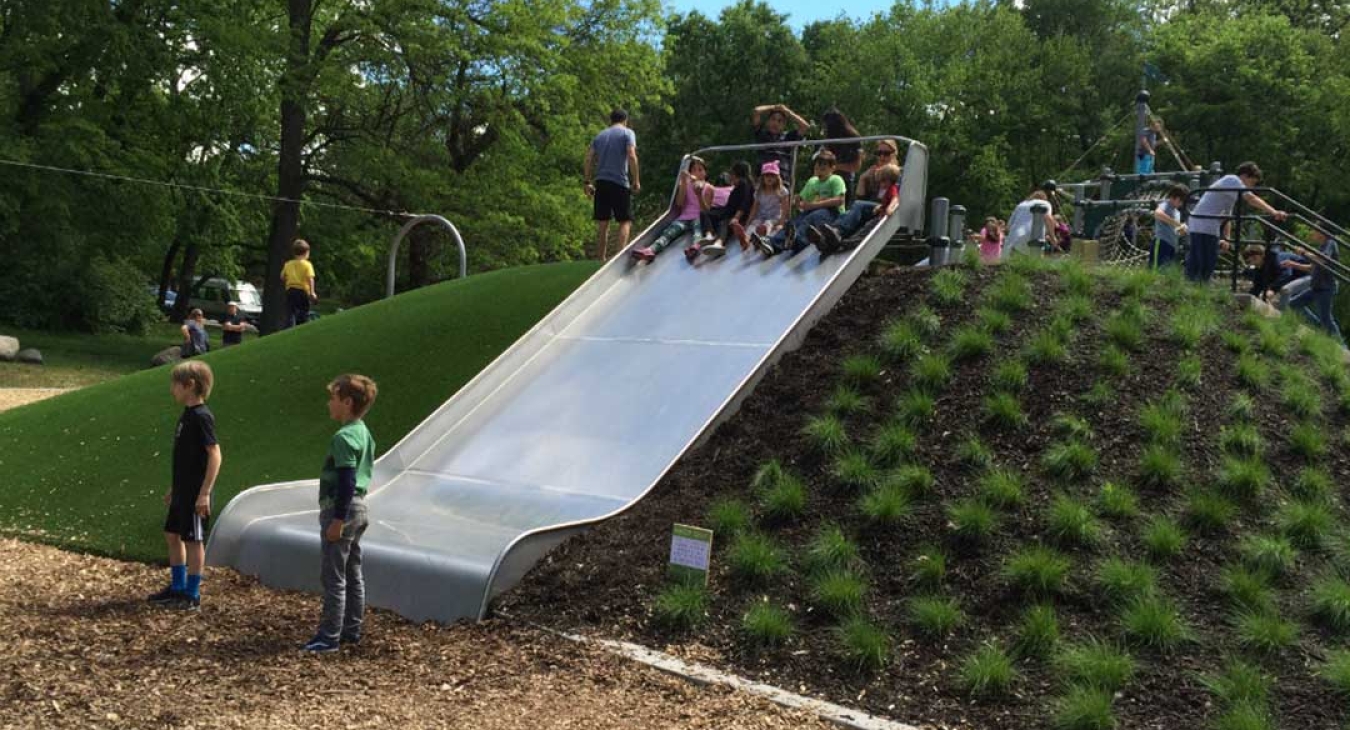
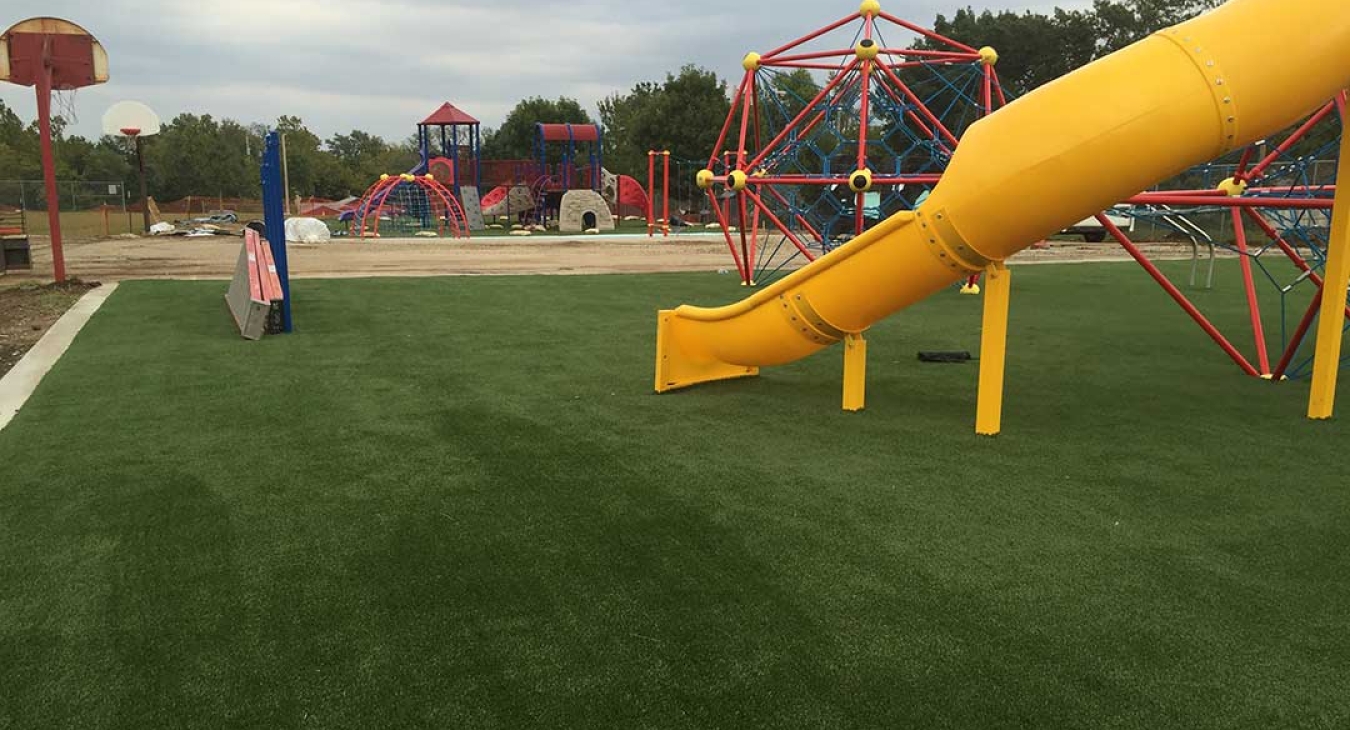
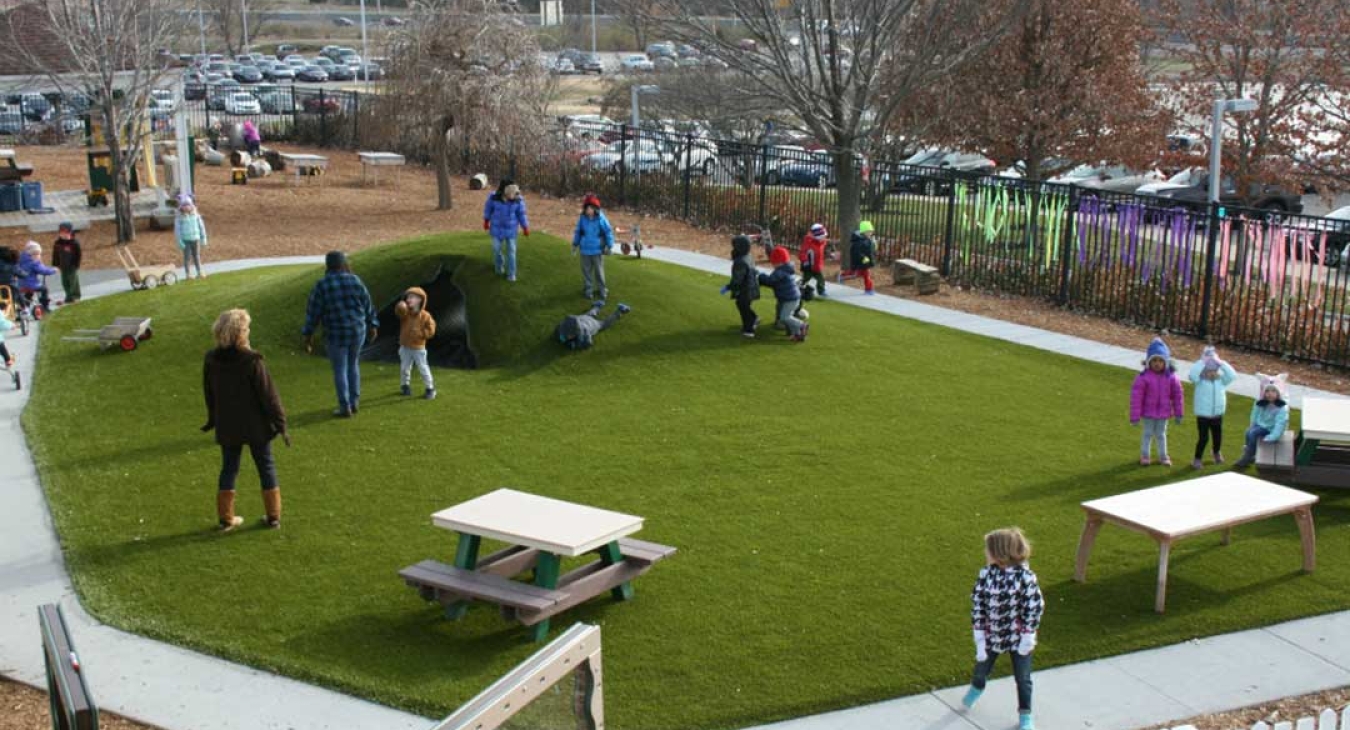
Unitary surfaces are smooth, seamless, uniform surfaces including Poured-in-Place (PIP) rubber, Interlocking Rubber Tiles and Synthetic Grass with fall attenuation padding.
Pros for Unitary Surfacing
- Provides much better access for children who have a mobility impairment – these surfaces are easier to roll or walk over making it a great solution for accessible playgrounds.
- Far less maintenance is required and they are typically playable in almost any weather.
- There’s no displacement of the surface so it won’t get “kicked out” at the bottom of slides or under swings.
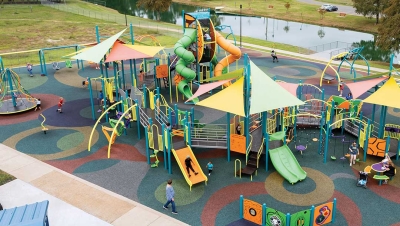
- Poured-in-Place surfacing is available in a wide variety of colors, shapes and designs.
- Synthetic Grass surfacing brings a natural appearance to playgrounds.
- When installed properly, unitary surfacing can last 10-15 years, which can sometimes offset the initial higher cost vs. loose fill surfacing.
Cons for Unitary Surfacing
- Typically, there is more infrastructure needed, such as a concrete base, to ensure proper installation and product performance.
- More expensive initial outlay due to the infrastructure needed along with the cost of the materials.
There are many additional factors to consider when choosing the best surfacing option for your playground: budget, ability to maintain proper depths, site accessibility and surfacing borders to name a few.
Bottom line: No matter what option you choose, it must be ADA compliant.
The Consumer Product Safety Commission (CPSC) and American Society for Testing and Materials International (ASTM) provide specific guidance on suitable surfacing material usage depending on the fall heights, sub-bas composition, and intended age range for users of the playground.
Drainage: Another Safety and Compliance Factor
“No matter what surfacing is chosen, if the playground surfacing does not drain well and becomes water logged, it will ruin the fall attenuation ability of the surface.”
Austin Meyers, ForeverLawn Kansas City General Manager
Good drainage is absolutely imperative. It is a critical part of keeping the playground equipment and surfacing in proper working order, safe and usable.
Standing water causes the play equipment to age and deteriorate before its time. It can compromise the structural integrity of concrete footings and rust can shorten the life of any metal. It allows molds and mildew to grow and attracts unwanted insects like mosquitoes. The surfacing may not have the impact attenuation it was designed for.
Other factors to be aware of:
- Topography. Is there enough slope to safely move water aware from and out of the play area?
- If the soil doesn’t allow water to pass through easily, a drainage system may be needed.
- Are there other nearby structures that may have a gutter causing run-off to flow into the playground?
Take a look at the surfacing work done for Lee Elementary...
Stay Cool & Comfortable by Adding Shades & Shelters
Shade is always an important consideration for the playground, especially in the hot summer months. Oftentimes, this element is overlooked. Some things to think about include:
- What times of the day will the playground be used the most? For example, is it a school playground that will be used mostly during the middle of the day?
- Is the playground in a neighborhood park where use is more seasonal and after the school day?
- Is there any natural shade from trees available to take advantage of?
It is also important to orient the play equipment in such a way to try and keep surfaces as cool as possible. Shade structures are for more than rest areas; they can also be used on the actual play equipment if no shading is available by other means.
A good play consultant will help you lay out the play equipment on the playground, taking into consideration orientation for access, drainage, heat, and other factors.
Types of Shade Structures
There are two basic types of shade systems – fabric shade structures and steel or wood structures.
Pros of Fabric shade structures
- Less expensive.
- Fabric colors and flexible design options offer a variety of looks to fit any space with a contemporary look.
- Good option for providing shade directly over a play structure.
Cons of Fabric shade structures“Wood and steel shelters come in all sizes and can be customized for just about any aesthetic desired. In addition, there are many amenities that can be added including restrooms, concessions, a fireplace and more to provide whatever is needed for the situation. Many park departments will rent out shelters to patrons which helps offset the cost of the shelter over time.”- Ben LaBarge, Cedar Forest Products Owner
- Actual fabric of the shade structure must be taken down for the winter season or the warranty will most likely be voided.
- Combination of ice build-up on the fabric and wind can tear the fabric and possibly stress or bend the steel frame resulting in an expensive repair or replacement.
Pros of Steel and/or Wood structures
- Minimal to no maintenance needed.
- Looks great for many years.
- Can be styled in almost any size with features and amenities to fit the look and needs of the space
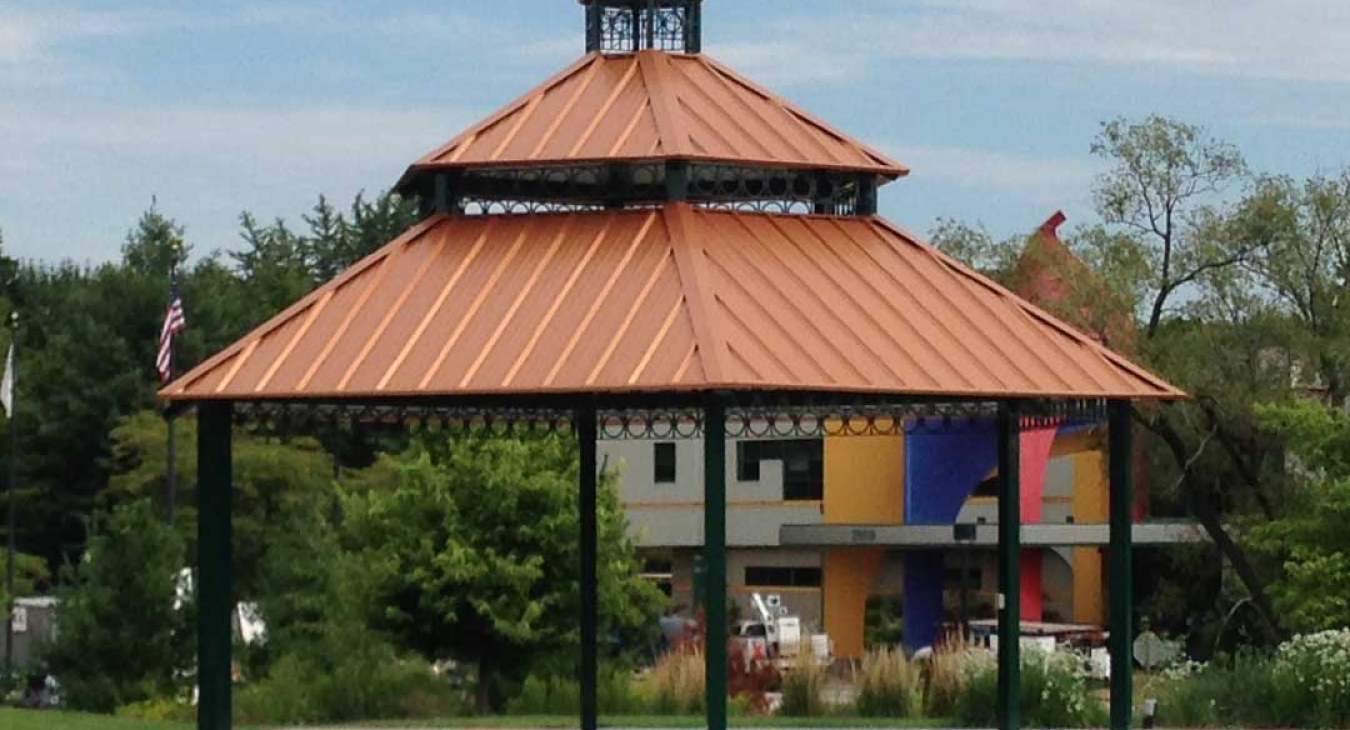
Project: Shelter House
Project: Farmers Market Shelter
Parking Considerations
Once again, it’s important to know your audience the playground will have. Parking and restroom access is typically not an important consideration for a school playground. But for a public park and playground, you want to plan for the community that will be visiting and using it.
- How many accessible parking spaces will be needed? Of those, how many need to be van-accessible?
- Do the accessible spaces connect via the shortest possible accessible route to the park, playground and other facilities?
- Do the accessible parking spaces need to serve more than one accessible entrance to the park, playground or other facilities?
There is no requirement that a restroom be provided at public places such as outdoor parks or a group of ball fields. Oftentimes, it is based on demand. However, to keep the public using the parks, bathroom facilities are recommended.
Restroom Considerations
- Is there already a facility in place? If so, does it need to be upgraded?
- Would an affordable prefabricated structure meet your needs or would a portable sanitation unit (PSU) suffice?
- Is the structure accessible to the park and able to accommodate disabled visitors?
There are many other factors that might crop up with regards to your safety surfacing, shelter, parking and restroom needs. We are here to help you plan your perfect park and playground.
Step 3: Play Equipment
Children learn through play. It helps develop them physically but also enhances their imagination, intelligence, and social skills.
Playgrounds are a place where kids can have fun just engaging in free play. When it comes time to choose play equipment, you want age-appropriate pieces but also equipment that challenges them to explore, learn and interact with others.
Let’s start off by setting goals for your playground.
Goals for the Playground
You want to be very clear about what you are looking for before asking for a proposal – for instance, specific equipment you want or don’t want. Often, the best advice is to start with the end in mind. Developing a list of goals will help everyone involved – from the play equipment companies to the playground installer and the playground consultant – understand what you want.
Goals might include things such as:
- Ease of maintenance
- Innovation
- Design
- Strengthening partnerships within the community
As you develop goals, be sure to involve all stakeholders and seek out experts when needed. That might be a recreation expert, construction professional, or parents of children with disabilities.
Location and Area for the Playground
You also want to assess the area for potential challenges. Things you should take into account include:
- Ensuring you have enough room to extend the safety surfacing at least 6 feet around the play equipment for required use zones.
- Ensuring you have good drainage or determining if updates will need to be done. Installation experts recommend a slope of 1% to 4% (or one to four feet of fall for every 100 linear feet).
- Assessing the topography. Determine if there are manmade or natural features that need to be incorporated into the playground or affect the playground.
Budgeting for the Playground
We talked about above but budget is more than just about money. You want to make sure you get the most for your budget dollar and that probably means relying on a landscape architect, playground consultant or playground manufacturer to make recommendations. It also means delivering the project on time and within budget.
- Check references.
- Find out about reliability and on-time delivery.
- Ask questions about the durability and safety record of the products being recommended.
- Find out about warranties.
- Understand how much it will cost to maintain over time.
Tip: Consider designing on a Pay for Play concept. This means play elements come first instead of relying on what is left over in the budget.
Plan for Specific Age Groups
For a public park and playground, you need to know and plan for the community that will be visiting and using it – one size does NOT fit all. Plan not only for current age ranges, but also future age ranges. Plan so that it meets the needs as the neighborhood children grow up. This can be extremely important when planning for smaller, neighborhood playgrounds.
You also will want to have an idea of the number of children the play equipment needs to accommodate.
Areas for 2 to 5-year-olds:
- Offer activities that test motor skills, strength, agility and creative thinking, such as climbing over, under and around things, smaller steps and crawl spaces that promote exploring.
- Encourage social skill development, areas where children can begin to interact with others.
- Play equipment might include crawl tunnels, small slides, enclosed play spaces, activity panels for fine motor skills and decks of modest height, low platforms, ramps with pieces attached for grasping, tricycle paths and sand areas.
Areas for 5 to 12-year-olds:
- This age group is ready for bigger challenges both physically and intellectually.
- Children tend to want play equipment with higher platforms and slides, swings, climbers, larger slides, rope climbers, monkey bars and upper body equipment.
Choosing Play Equipment
You need play equipment that is age appropriate, but there are a few other things to consider when deciding what to provide.
- Do you want single or multiple user equipment?
- How many children need to be accommodated?
- How tall or what height are you comfortable with?
- Do you want traditional post and deck play equipment, rope play equipment, music, boulders?
- Do you want swings and spinning opportunities?
- What accessibility/inclusivity requirements do you have?
- What types of surfacing will be needed?
- Have you accounted for use zones?
- Will the equipment provide the seven elements of play?
7 Elements of Play
When planning a playground, there are 7 elements of play that should be considered. Playgrounds that promote different types of play are vital for a child’s cognitive, emotional, physical, and social development.
Swinging, a very basic playground activity, can help with balance, teach a child to know where his or her body is in space and practice fine motor skills (grasping the chain) and gross motor skills (pumping the legs).
- Traditional, toddler and infant swings help develop gross motor skills (locomotion, balancing, body coordination) as children develop the pumping motions and jump out of the swings or even pushing others in the swings.
- Saucer swings accommodate multiple kids at one time, are accessible and enables children with special needs to enjoy the swinging movement.
- Hammock swings have a smooth swaying motion that is soothing. This motion of swinging restores balance to the vestibular system, provides proprioceptive input and helps children with autism feel more in balance.
Spinning helps important body functions develop and function properly. It helps build gross and fine motor skills along with core strength, enhancing the vestibular system and body awareness.
- The Comet Spinner from Burke challenges children ages 5 to 12 to use their strength, balance and coordination. It can be used by one child or a group, sitting or standing either inside or outside. The children use their strength to move it. Mounted at an angle, it provides interaction with the force of gravity.
- Whereas the Eddie from Berliner is a very simple spinner. It has a body and stem made of stainless steel that is either straight or curved and accommodates one or two kids at a time. This is a great spinner for both small and bigger kids.
Balancing activities help build muscle strength, endurance and postural control, encourages pretend play and social interaction, develops proprioceptive systems and cognitive functions.
- The Orbit is a curvy balancing trail. Children love to balance and even adults may appreciate a quick balancing exercise, too!
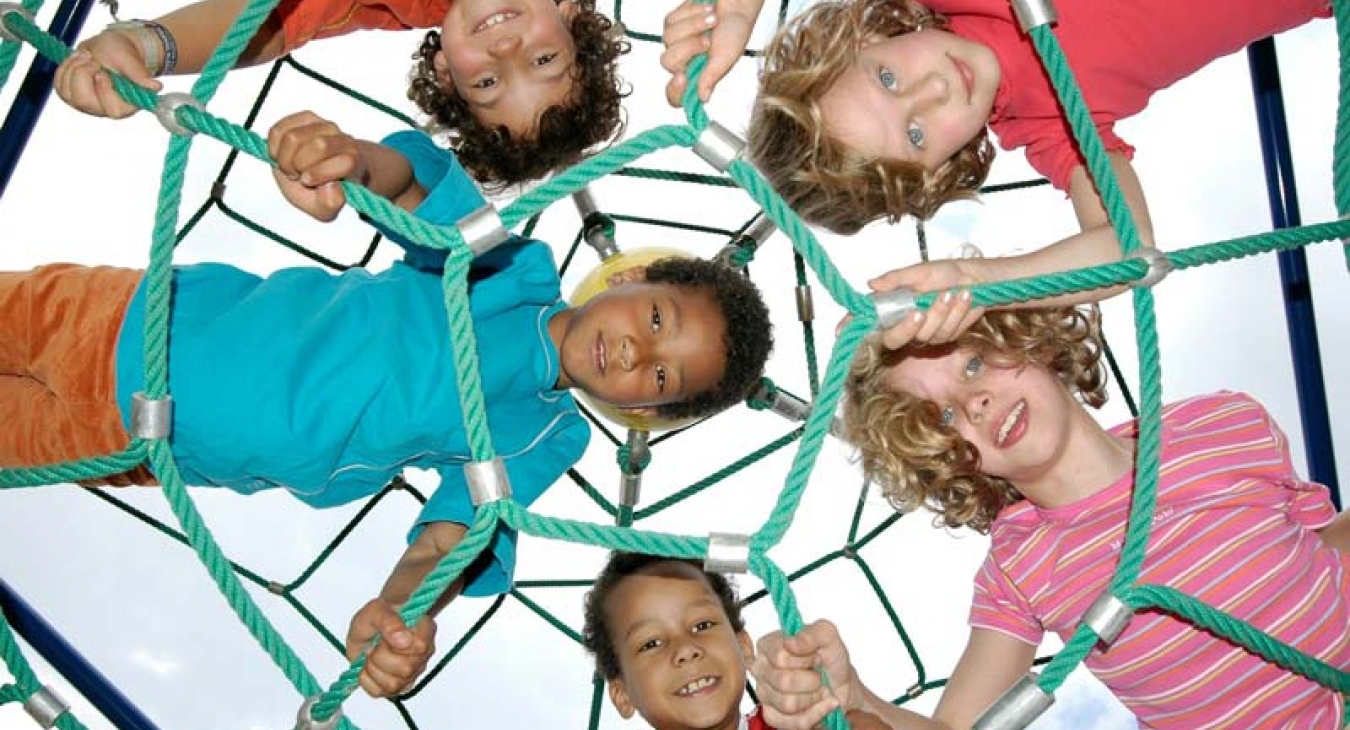
Climbing helps build gross and fine motor skills, enhancing the vestibular system, perceptual motor skills such as body awareness, spatial awareness and directional awareness and sharpening visual perception skills. Climbing helps make children aware of direction – up, down, left, right. It encourages problem-solving and predicting what’s going to happen.
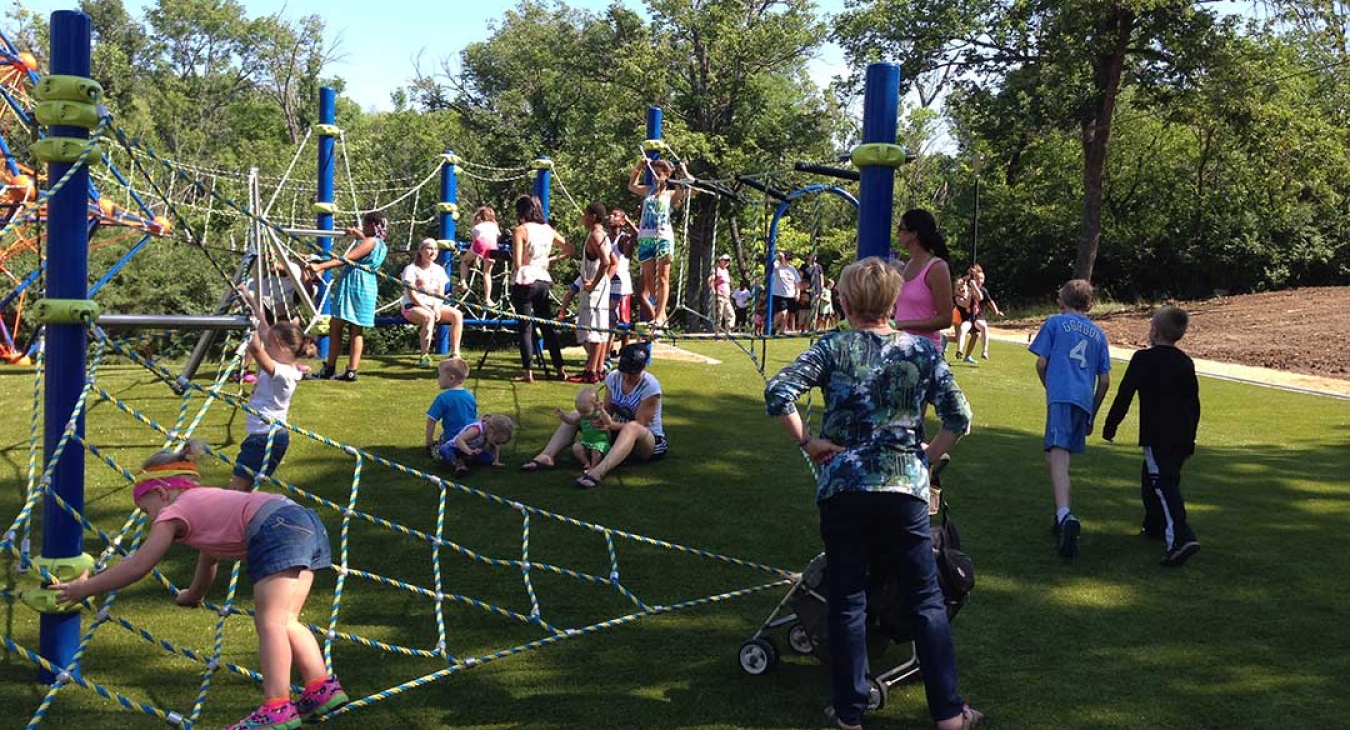
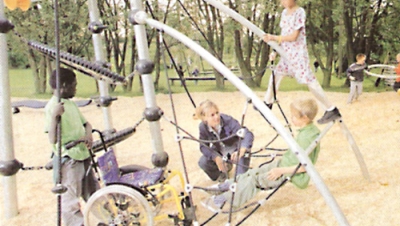
- For older kids, a rope structure such as the Pegasus from Berliner can provide unlimited play opportunities – climbing up, down and side-to-side, increasing their confidence as they climb higher and higher! Berliner’s structures are true, 3-dimensional climbers, encouraging kids to think about where they want to go and create their own path to get there.
- Play equipment like Burke’s Pod Walks and Pad Climbers help kids master balance and coordination skills as they climb.
- And, don’t forget the challenges climbing rocks and boulders offer!
Brachiating is the activity of swinging from one arm to another on overhead equipment. This swinging activity makes the brain work the same – left, right, in an alternating pattern. It develops both fine and gross motor skills. Learning to move one hand from bar to bar can help with coordination and balance.
You don’t always see a lot of preschool playground equipment for this activity. Many tend to think that young kids are not strong enough to do this. Instead, consider installing playground equipment low enough so that a child can raise his or her arms up and do the alternating activity while standing on the ground. The important part is the alternating pattern, not that the child be suspended in the air.
Sensory play encourages children to use one or more of the senses, stimulating sight, sound, smell, touch, taste, balance and movement. It helps build neural connections that support thought, learning and creativity and supports language development, cognitive growth, fine/gross motor skills, problem solving and social development.
Musical instruments are an easy way to incorporate sensory play. Musical instruments pique a child’s curiosity – what sounds will it make? How hard or soft can I hit it? Will I be any good? The great thing about musical instruments is that they are good for any age (including adults!), ability and you don’t even have to speak the same language as someone you are playing with. Musical instruments help develop a child’s auditory system and the vibrations add to the sensory experience.
Shade on the Playground
Don’t forget about shade! It’s easy to overlook but it’s an important consideration since it can reduce the temperature of a playground by as much as 15 degrees on a hot summer day.
You’ll want to orient the play equipment in such a way to try and keep surfaces as cool as possible. Shade structures are for more than rest areas; they can also be used on the actual play equipment if no shading is available by other means.
Find a more detailed discussion about different types of shade.
A good play consultant will help you lay out the play equipment on the playground, taking into consideration orientation for access, drainage, heat, and other factors.
Step 4: Installation
In this blog series, we’re covering the 6 steps to creating your perfect park and playground, starting with:
- Concept & Budgeting
- Safety Surface & Shelter
- Play equipment
Now, it’s time to plan for the installation that will work best for your project:
- Professional install
- Self-performed
- Supervised installation/community build
Professional Installations
Professional installations are done by experienced, insured and manufacturer certified installers who provide a turnkey service. That means they will receive the play equipment, lay out the playground, install and assemble the equipment according to manufacturer specifications and do the clean-up. It may include basic site preparation and surfacing installation, too. Typically, there is a one-year installation warranty.
The biggest advantage to a professional installation boils down to experience. This is their day-to-day job, which means they have methods to get the job done proficiently and expediently.
At ABCreative, all our installers are NPSI (National Playground Safety Institute) certified, giving you confidence that the play equipment is compliant with all safety guidelines.
Self-Performed Playground Installations
Self-performed installations mean that the purchaser or someone they choose will do the installation and assembly of the play equipment. Often, this is the least expensive installation method; however, it is important to know if your volunteers have the experience needed.
If you choose this method, here are some things to know:
Your product warranty is not affected with a self-install; however, you do not receive an installation warranty.
The components of a playground structure will arrive in a full-size semi-trailer. Many components will be packed and palletized together, making them quite large and heavy. Offloading of this equipment will be your responsibility. The truck driver will not have any tools or ability to help.
Your site may need additional work such as cleaning the site of trees or surface rock.
Always be sure to contact your local utility companies to mark water, gas and electric lines before digging. Take time to locate any private assets the utility companies do not mark such as cable, phone, irrigation, etc.
Check with the Consumer Product Safety Commission and the American Society for Testing Materials for guidelines on equipment use zones and positioning regulations.
Supervised Playground Installations
Supervised installation and/or a community build make a great combination, giving you the best of both worlds at a lower cost than a professional installation.
Many of our customers choose to do a playground installation this way because it not only builds community pride, but there is now an investment from the community in the playground. This investment leads to community stewardship, ensuring the playground maintenance is kept up, the playground is used properly and taken care of.
A supervised installation gives you the experience of a professional installer and helps with coordinating volunteers.
It is typically priced by the day. This means you can decide how many days of help are needed and fit within your budget.
This overview is based on a project consisting of a playground installation only. If your playground is part of a larger project, then your playground installer will work with the owner and the project manager to coordinate scheduling and installation.
One last note, be sure to keep copies of the following for each playground equipment area:
- Detailed installation records
- Inspection records
- Maintenance records
- Repair records
Ready to Get Your Project Started?
Step 5: Celebration Time!
As your playground starts to near completion, don’t forget one very important step – celebrate the opening and all the hard work that has gone into it!
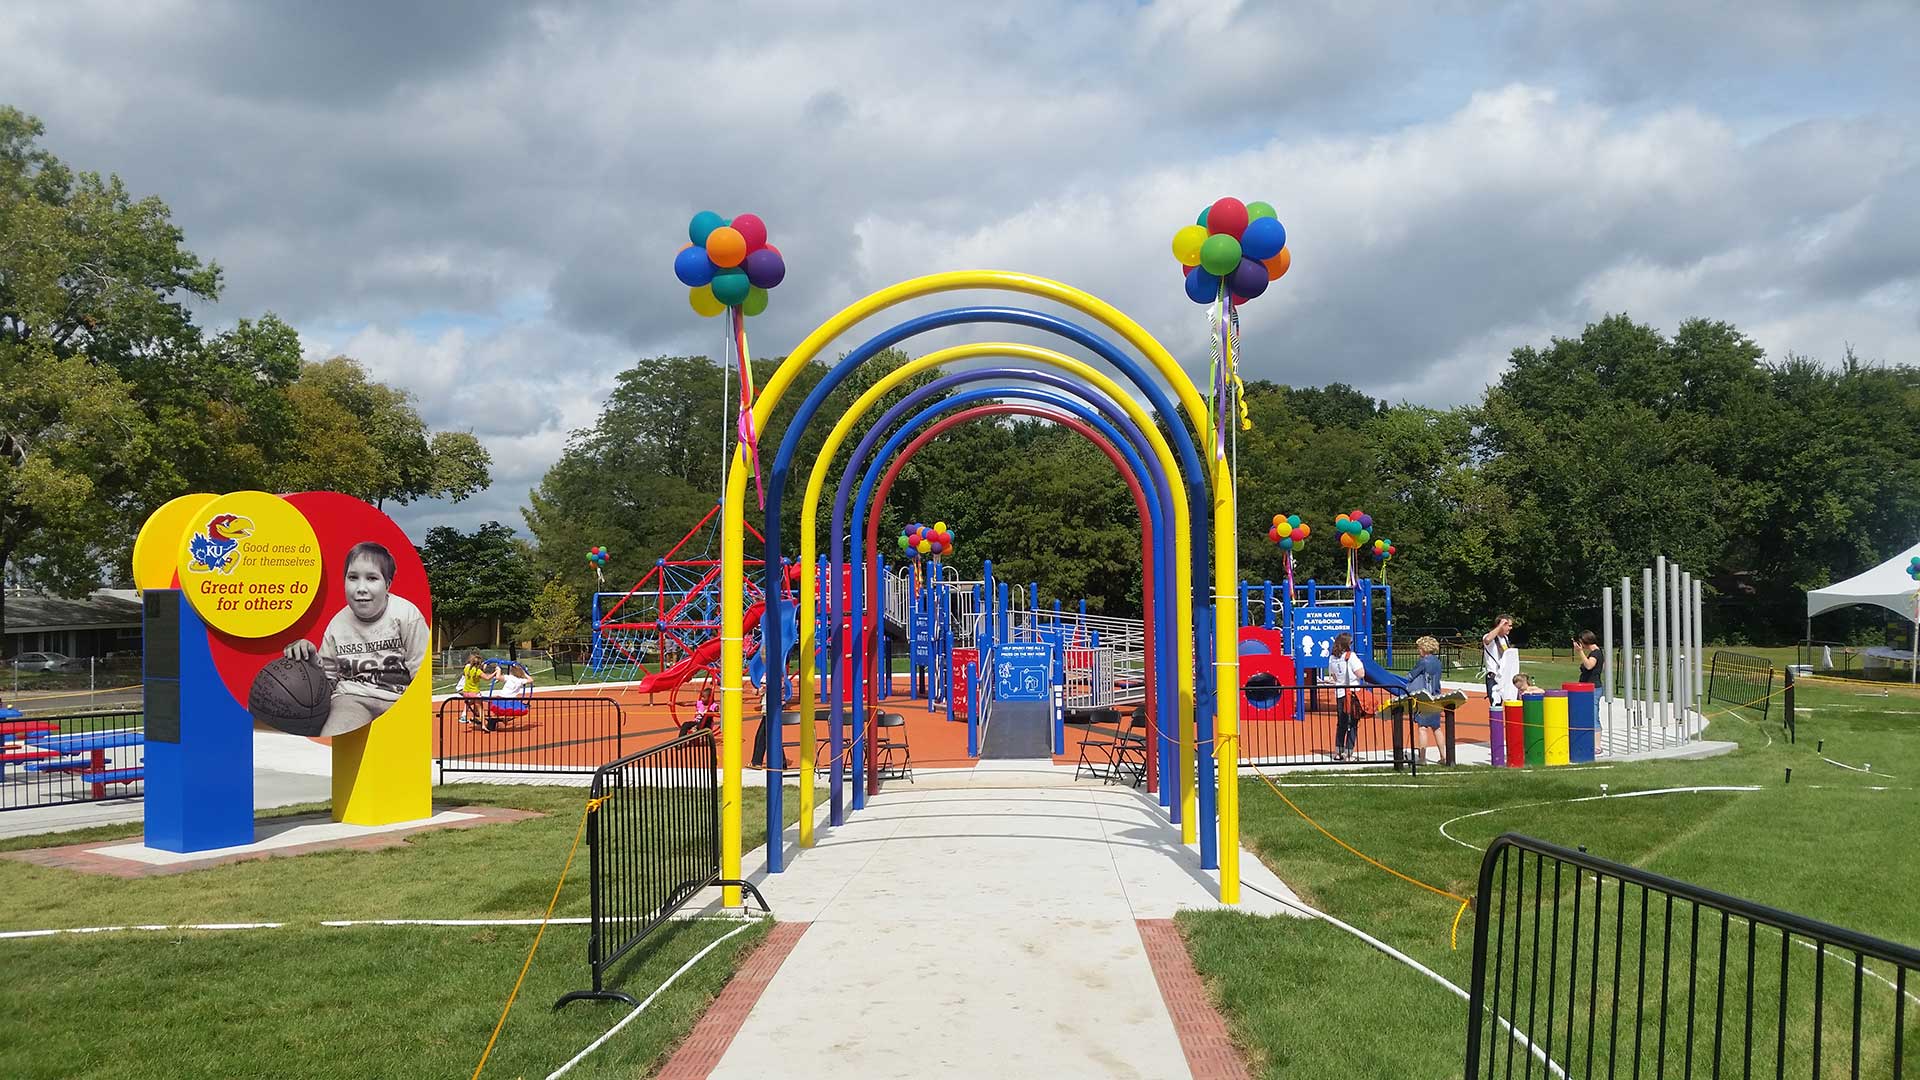
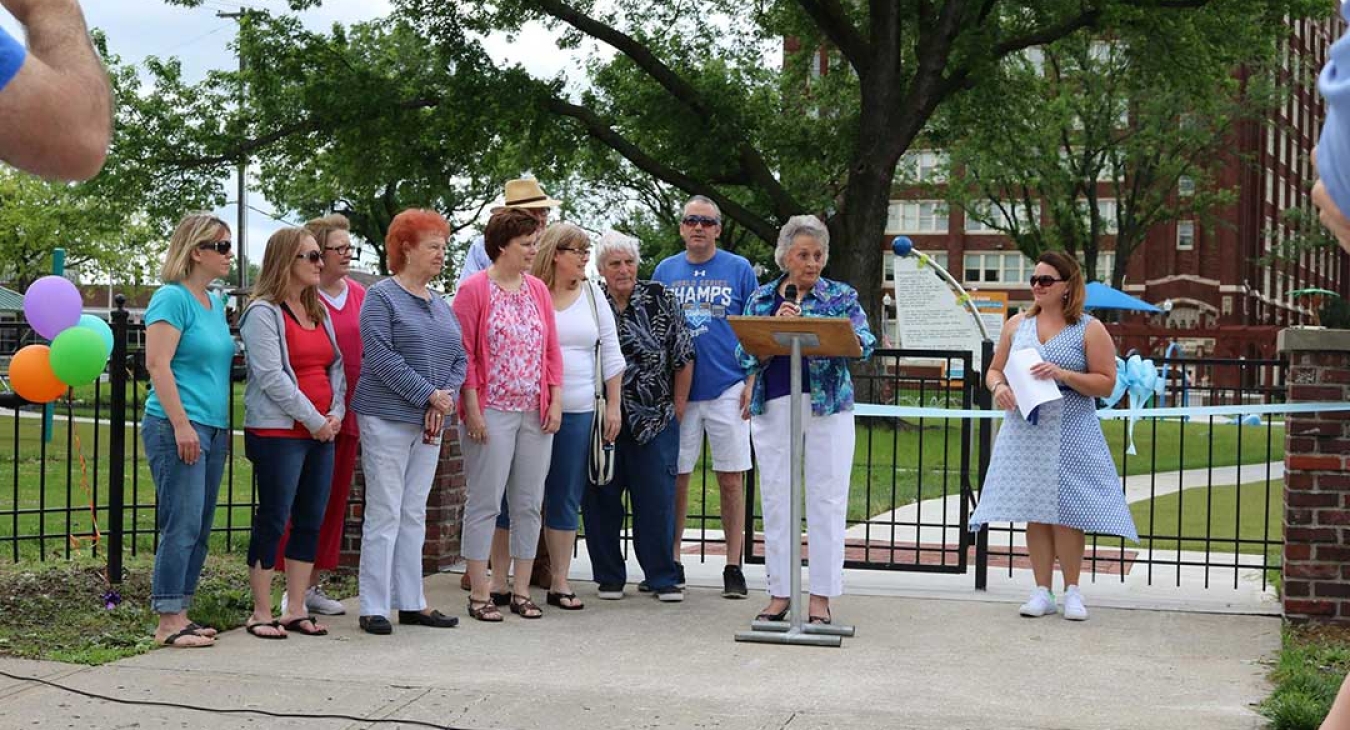
Many communities celebrate a new or renovated park and playground with some type of launch or dedication ceremony. It’s a great way to get the community out to see what has been accomplished.
Seeing improved amenities, new playground equipment, and new surfacing gets kids and their families excited and encourages more park use by families and the surrounding community. Often, this represents months of effort by a variety of stakeholders such as the parks department, city government, community volunteers and more.
Whether small or large, rural or in the city, when the playground is complete, it is time to celebrate!!
- Invite the community to a ribbon-cutting or dedication ceremony.
- Invite the media.
- Take pictures or video of the event to share on social media.
- Distribute a press release.
- Talk about the playground or park – what is unique about it, why was it renovated or newly built, what is the history of the area, what has been changed or made safer, who was involved.
Teach Children to Use the Equipment Safety
We have worked with schools who take the time to teach the kids the right way to play on new playground equipment. These rules keep the playground safe and clean
- One on the slide at a time.
- No climbing or jumping off the slide.
- Three at a time on the spinner.
- No pushing on the spinner.
- Count to 20 for the next turn on the spinner.
Having playground rules that are specific to your playground and equipment that the children learn to follow is proven to:
- Improve active recess involvement by more kids
- Increase the comfort level and participation from the shyer or less coordinated kids
- Reduce bullying
- Increase confidence and comfort with the play equipment
- Reduce playground injuries
Step 6: Playground Maintenance
Playground Maintenance: Keeping it Safe for Kids
Whether your playground is new or on the mature side, a maintenance plan is a must.
Inspections and maintenance maintain the safety and longevity of your equipment, minimizing the risk of injury to those playing on the play equipment.
Inspections, conducted on a regular basis, check for things such as excessive wear, deterioration and potential hazards on the play equipment and the playground itself.
Proper Planning Prevents Poor Performance
Maintenance plans should be customized to each individual playground, based on the specific equipment and surfacing in place, and will help you address these five P’s: proper planning prevents poor performance.
You should base your plan on:
- Age group the playground is designed for and used by. Younger children aren’t typically as tough on play equipment as older, bigger children so playgrounds for these children may not need as frequent inspections.
- Size of the playground.
- How often the playground is used. Daily use by several hundred children means more maintenance than a playground that is occasionally used or used by 10 to 20 children.
- Type of play equipment. Any play equipment with moving parts (i.e., swings, spinning pieces, bouncers) will require more frequent inspections and maintenance.
- Type of surfacing. Loose-fill surfacing gets dispersed during play, which means it will need to be maintained on a more frequent basis. Unitary surfacing requires less day-to-day maintenance but it does require maintenance to ensure it is long lasting.
- Use of the playground. Playgrounds open to the public may have additional maintenance considerations over one that is just used for a school, such as the unintended use of the equipment, graffiti, and other issues.
Regular cleaning and inexpensive repairs will prevent larger, more time consuming and certainly more expensive repairs and replacements.
You also want to be sure you have all the information about the components and surfacing on the playground. If you are missing any information, your playground consultant should be able to supply this information along with maintenance suggestions, installation instructions, and manufacturer information.
Routine Inspection and Maintenance Issues
Maintaining playground equipment and the surrounding area is essential to minimizing the risk of injury to users. While this isn’t a comprehensive list, it will give you a start on what to look for.
Maintenance of the Playground Equipment
- Worn, loose, damaged or missing parts, such as loose bolts, missing end caps, and cracks.
- Metal parts show no visible cracks, bending, warping or breakage.
- Broken or missing components on equipment, such as handrails, guardrails, protective barriers, steps or rungs.
- Sharp points, edges or unsafe protrusions.
- Frayed cables, worn ropes, open hooks or chains.
- Deteriorated wood, splitting or splintering.
- Rusted or corroded metals
- All equipment is securely anchored. Footings are not exposed, cracked or loose.
Maintenance of the Playground Surface
The type of surfacing you have will determine how frequently you need to inspect and/or maintain it. Loose-fill surfacing does require more frequent maintenance than unitary surfacing.
- Loosen and level with a rake and replenish on a regularly established basis. Remove any foreign objects or debris to prevent compaction.
- Check under any platforms for loose-fill surface to either remove or spread to main areas of impact.
- Check to ensure the surface is not compacted and does not have reduced depth in heavy use areas (such as under swings or at slide exits) to ensure it still meets recommended compacted depth.
- Ensure there are no trip hazards or foreign objects, such as rocks or debris.
Unitary surfaces are much lower maintenance; however, they aren’t completely maintenance-free either. Basic maintenance (keeping the surface clean of debris) is important for a long-lasting surface. You also want to check for holes, flakes and/or buckling of a unitary surface.
Maintenance of the Playground Area
Often, in community or destination playgrounds, even school playgrounds, there are other maintenance issues that crop up. If a playground is used regularly as a “destination,” it will probably require daily inspections and more frequent maintenance.
Teens might use these areas as hang-out spots. Parents and caregivers may stay at a destination park for longer periods, bringing toys and other objects that can be lost. Visitors may bring food and refreshments introducing the need for regular trash clean-up.
Regular inspections can help you find:
- Vandalism and graffiti
- Unintended use of play equipment
- User modifications, such as ropes tied to parts or equipment rearranged
- Hazardous or dangerous debris, such as broken glass
In addition, you’ll want to check to make sure there are no:
- Trip hazards, such as rocks, uneven concrete, or stumps, that might cause a child to fall as they play
- Collections of water on the playground or poor drainage areas
- Holes or other damage to fences
When Play Equipment Breaks
A successful playground design is one that is used and enjoyed on a regular basis. Unfortunately, regular use also means moving parts wear out and sometimes playground equipment breaks.
When equipment breaks or you have a surfacing issue, follow these simple steps as quickly as possible.
A) Take a photo of the entire play area to help communicate and identify the location.
B) Take a photo of the general area of the issue (i.e., the break or damage). Make sure you capture its location on the playground and other items that might be connected to the problem piece.
For example, if a slide section breaks, you want to take photos that will show the entire slide. By doing this, the manufacturer might identify other issues that can be prevented with proactive measures.
C) Take close-up photos to identify and communicate the specific issue.
Once you do this, compile everything and send to the play equipment consultant who initially helped you with the playground. Any item/part numbers, structure information and date of installation are all important information to supply for a speedy repair and resolution.
Be sure to decide if the repair issue causes a potential hazard that requires temporarily closing the playground or part of the structure until the issue can be resolved.
Replacement Plan vs Maintenance Plan
If your play equipment is 10 to 15 years old or older and you are seeing the effects of wear and tear, consider putting a “replacement” plan in place so you’re prepared when the day comes to replace the playground.
When it comes time to replace equipment, your plan should include:
- the type of play equipment kids enjoy playing on the most
- drainage issues that need to be resolved
- layout issues that need to be addressed (i.e., does the layout accommodate for a particular item)
Having some of these things figured out and a foundation of money saved back will help to make any new additions or new playground projects a better success.
Use Your Playground Consultant as a Resource
When developing your maintenance plan and schedule, you should always be able to count on the playground consultant you worked with. He or she can help you determine what maintenance is needed for your playground and may offer a plan where experienced, certified installers will come inspect, clean and do the maintenance for you.

